
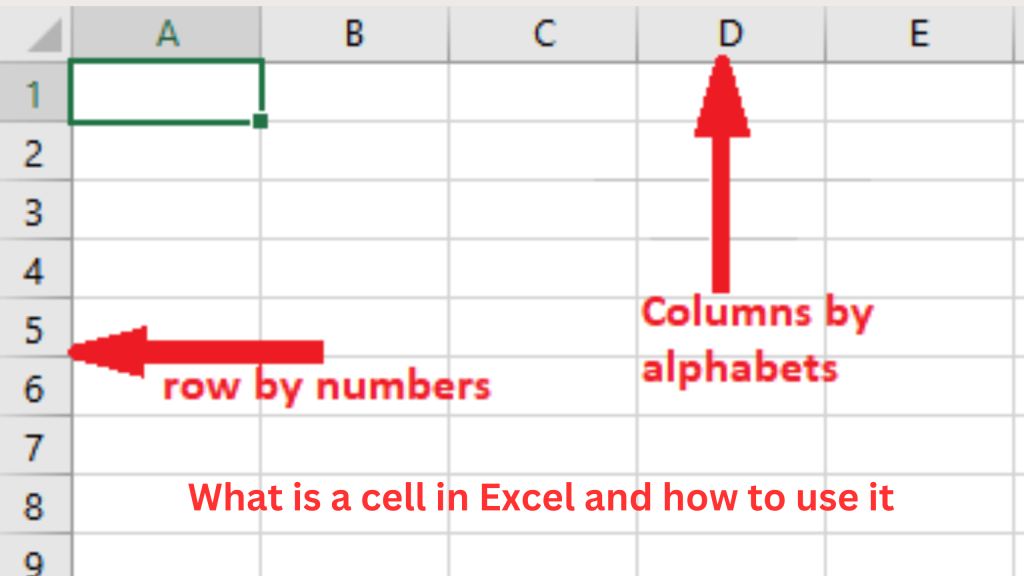
A cell in Microsoft Excel is the smallest unit of a worksheet, acting as a rectangular box where data is entered, stored, and manipulated. Each cell has a unique address defined by its column letter and row number (e.g., A1 or B2).
Cells in Excel are incredibly versatile, capable of holding:
- Text: Labels, names, or descriptions.
- Numbers: Numeric values for calculations.
- Dates: Calendar entries.
- Formulas: Dynamic calculations and functions.
Mastering Excel cells is essential for efficient data organization, analysis, and presentation.
Importance of cells
Cells are the building blocks of Excel, forming a grid-like structure on the worksheet.
Key Functions of Cells:
- Store Data: Hold text, numbers, and dates.
- Perform Calculations: Enable complex computations using formulas.
- Create Charts and Graphs: Provide source data for visual representation.
- Data Management: Organize and filter large datasets effectively.
By referencing specific cells or ranges, Excel simplifies tasks like automated calculations, data analysis, and report generation.
Navigating Excel Cells
Efficient cell navigation saves time and reduces errors. Here’s how:
1. Using Arrow Keys:
- Move up, down, left, or right one cell at a time.
2. Using the Mouse:
- Click directly on the desired cell to select it.
3. Using the Name Box:
- Type a cell address (e.g.,
B2) in the Name Box and press Enter to jump to that cell.
4. Using Keyboard Shortcuts:
- Ctrl + Arrow Keys: Jump to the edge of the data region in the specified direction.
- Ctrl + Home: Go to cell A1.
- Ctrl + End: Jump to the last used cell in the worksheet.
Entering Data into a Cell
1. Basic Data Entry:
- Click on a cell and start typing.
- Press Enter to move to the cell below.
- Press Tab to move to the cell on the right.
2. Editing Data:
- Double-click a cell to edit its content.
- Press F2 to enable edit mode.
3. Formatting Data:
Use the Toolbar (Ribbon > Home Tab) to:
- Change font style, size, and color.
- Align text horizontally and vertically.
- Format numbers as Currency, Percentage, or Date.
Using Formulas in Excel Cells
Formulas allow you to perform calculations and automate tasks within cells. Every formula begins with an equals sign (=).
Common Formulas:
- SUM: Adds a range of cells →
=SUM(A1:A10) - AVERAGE: Calculates the average of a range →
=AVERAGE(B1:B5) - IF: Performs logical tests →
=IF(A1>10, "Yes", "No")
Formulas make Excel a powerful tool for financial analysis, reporting, and data processing.
Formatting Cells for Better Readability
Well-formatted cells enhance clarity and presentation.
1. Number Formatting:
- Display numbers as Currency, Date, Percentage, etc.
2. Cell Borders:
- Add borders to emphasize specific cells.
3. Fill Color:
- Highlight cells with background colors.
4. Conditional Formatting:
- Automatically format cells based on values.
- Example: Highlight cells with negative values in red.
Steps to Apply Conditional Formatting:
- Select the range of cells.
- Go to Home > Conditional Formatting.
- Set the desired rules and style.
Merging and Splitting Cells
1. Merging Cells:
- Combine multiple cells into one larger cell.
- Useful for headers or titles.
Steps to Merge Cells:
- Select the cells you want to merge.
- Go to Home > Merge & Center.
2. Splitting Merged Cells:
- Select the merged cell.
- Click on Merge & Center again to split it back.
Copying and Pasting Data in Cells
Basic Copy-Paste:
- Ctrl + C: Copy selected cells.
- Ctrl + V: Paste into target cells.
Using Paste Special:
- Right-click and select Paste Special for more options:
- Values: Paste only the data.
- Formulas: Paste the formula.
- Formats: Paste formatting only.
Validating Data in Cells
Data Validation ensures that only valid data can be entered into selected cells.
Steps to Set Data Validation:
- Select the cell or range.
- Go to Data > Data Validation.
- Set your rules (e.g., only numbers, text length limits).
- Click OK.
Example: Allow only numbers between 1 and 100.
Protecting Cells from Modification
Protecting cells prevents accidental edits or deletions.
Steps to Protect Cells:
- Select the cells to lock.
- Go to Review > Protect Sheet.
- Set a password if required.
Locked cells cannot be edited without unlocking them first.
Practical Tips for Using Excel Cells
- Use Shortcuts: Save time with Ctrl + C, Ctrl + V, Ctrl + Z.
- Leverage Formulas: Automate calculations for efficiency.
- Apply Conditional Formatting: Highlight critical data visually.
- Keep Data Organized: Use consistent formatting and naming conventions.
Conclusion
Cells are the foundation of every Excel worksheet, enabling you to store, calculate, format, and analyze data efficiently. From basic navigation to advanced formulas, understanding how to manage Excel cells can elevate your productivity and accuracy significantly.